Google Drive
Adding a disk image stored on Google Drive as Remote Disk requires two steps:
- Authorize access to Google Drive (once per device)
- Authorize access to the disk image (once per disk image)
Authorize access to Google Drive
This step needs to be performed once on each device on which Disk Decipher is installed to access Google Drive.
Open Settings and select "Storage provider accounts" followed by "Link Google Drive account".

Disk Decipher will initiate the authorization flow with Google. On approval, Disk Decipher receives a token for accessing Google Drive. This token is stored in your keychain. Disk Decipher will show the stored token with the name of the Google account and allow you to delete it if you ever wish to do so.

If your Google account is shown like above, you have successfully completed the first step.
Note: Disk Decipher supports linking multiple Google Drive accounts. If you have access to multiple Google Drive accounts, tap "Link Google Drive account" for each account. This will enable you to access disk images stored in these accounts.
Manage authorizations from Google Drive
You can manage the apps connected to Google Drive by opening Google Drive in a web browser and selecting Settings (the gear icon) - Manage apps.

Here you can make Disk Decipher the default app for opening disk images from Google Drive. You can also remove Disk Decipher from the list of connected apps, which will render the issued token useless.
Authorize access to the disk image
For each disk image you want to add as Remote Disk, you need to authorize Disk Decipher to access the disk image. Note that this authorization is granted to the Disk Decipher app, it is not limited to the device on which you perform this step.
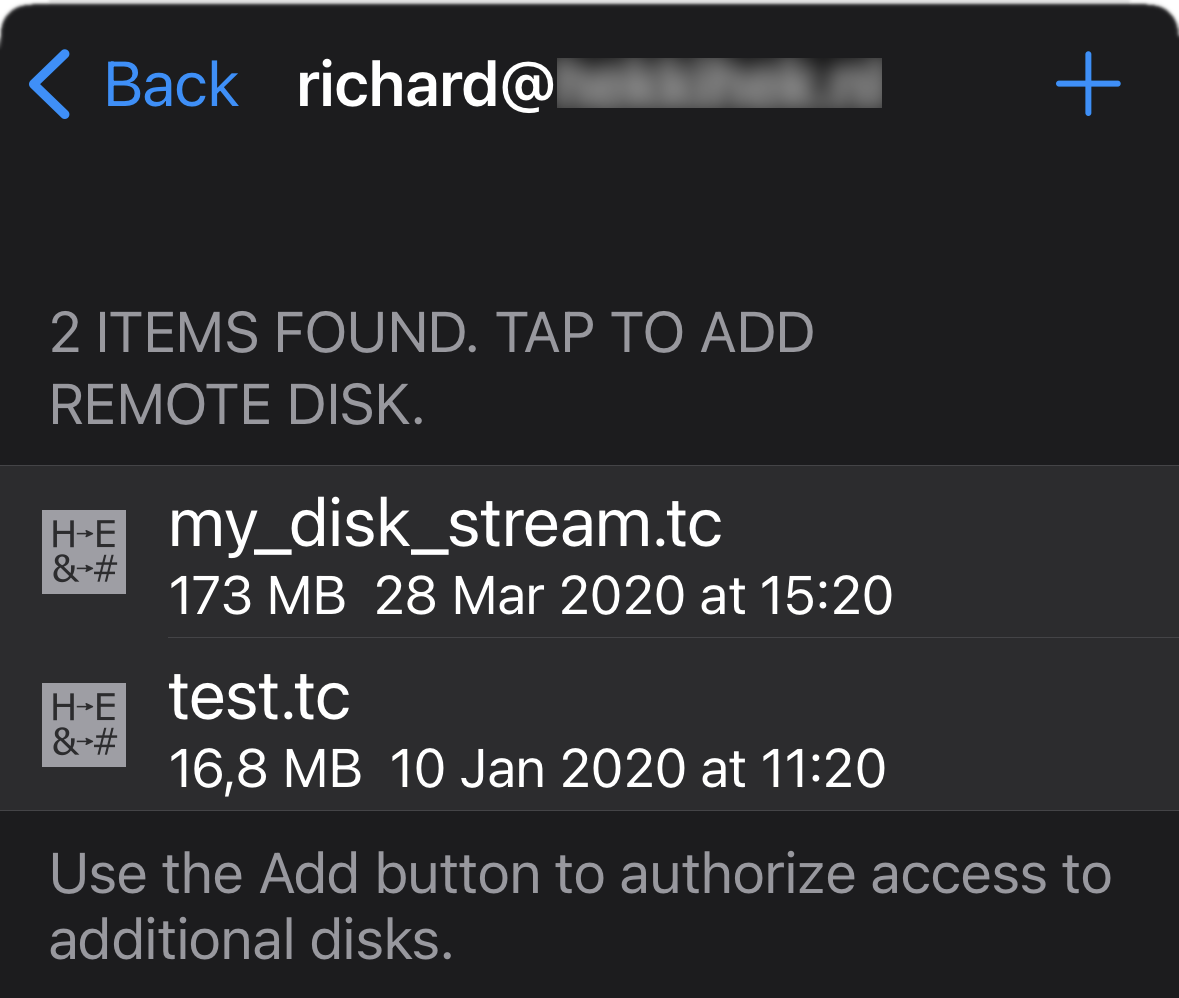
Open the "Add disk" dialog by tapping the + icon on iOS or "Disk - Add Disk" on macOS, and select your Google account from the bottom section. This opens a dialog showing the disk images to which access has been authorized:

If your disk image is listed (i.e. was authorized in the past) simply select it and you are done.
To authorize an additional disk image, select the '+' button in the dialog above to open the familiar Google Drive Picker. The disk image(s) you select in the Google Drive Picker will be added to the list of authorized disk images.